
How to Fix a Noisy Icemaker by Removing Stuck Ice
how to fix a noisy ice maker which is not dispensing ice.
APPLIANCE MAINTENANCE
Brian
5/1/20243 min read
Introduction
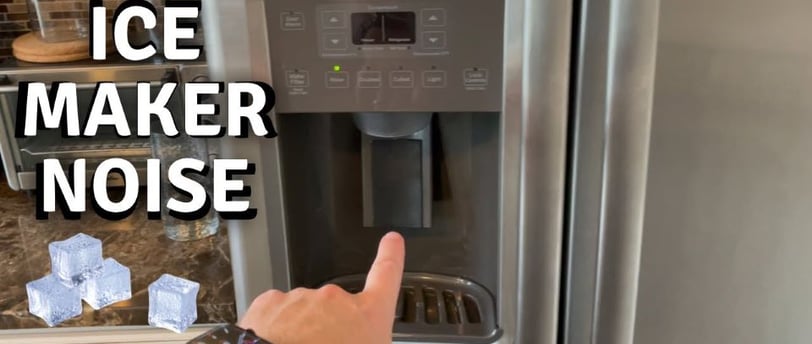
Having a noisy icemaker can be quite annoying, especially if it is not dispensing ice correctly either. In my case the ice maker was making a shrill high-pitched sound as well as a grating sound and ice was not coming out the ice maker. One common cause of a noisy icemaker is ice that gets stuck in the ice bucket and sticks to the moving parts in the ice dispenser inside the ice machine. Fortunately, fixing this issue is relatively simple and can be done by removing the ice that is causing the problem. In this article, we will guide you through the steps to fix a noisy icemaker by removing the ice stuck in the ice bucket.
1: Turn Off the Ice Maker
Before you start working on the icemaker, it is important to turn it off to avoid any accidents or injuries. Locate the power switch or lever that controls the icemaker and switch it off. This will prevent the icemaker from producing more ice while you are working on it.
2: Empty the Ice Bucket into Bowl
Next, you need to empty the ice bucket to gain access to the ice that is causing the noise. Carefully remove the ice bucket from the freezer and set it aside. Be cautious not to spill any ice or water during this process. You can generally remove the ice bucket by reaching underneath and pulling the whole bucket out. A tab may be beneath the ice bucket you need to depress to remove it. I dump the ice I will save into a large bowl or multiple bowls so I can dump the ice back into the ice bucket as long as the process does not take too long.
3: Remove the Stuck Ice
Inspect the ice bucket and identify any ice that is stuck or frozen together. This is usually the cause of the noise. Use a plastic utensil or ice pick to gently break apart the stuck ice. Be careful not to damage the ice bucket or any of the moving parts inside the ice machine. The Ice clumps generally are found towards the bottom, back or front of the bucket and may interfere with the moving parts when they move to dispense ice.
4: Clean the Ice Bucket
Once you have removed the stuck ice, it is a good idea to clean the ice bucket to ensure proper functioning of the icemaker. Rinse the ice bucket with warm water to remove any remaining ice particles or residue. Use a mild detergent if necessary, but make sure to rinse it thoroughly to avoid any soapy taste in your ice.
5: Reassemble and Test
After cleaning the ice bucket, carefully place it back into the freezer and reassemble any parts that you may have removed during the process. Once everything is back in place, turn the icemaker back on and wait for it to start producing ice. Check if the noise issue has been resolved. If the noise persists, you may need to seek further assistance or consider contacting a professional for repair.
Tips to Prevent Future Issues
To prevent ice from getting stuck in the ice bucket and causing noise in the future, here are a few tips: 1. Regularly empty and clean the ice bucket to prevent ice buildup. 2. Avoid overfilling the ice bucket, as this can lead to ice getting stuck together. 3. Check the ice dispenser regularly for any signs of obstruction or blockage. 4. Ensure that the icemaker is properly aligned and installed according to the manufacturer's instructions. 5. If you notice any unusual noises or issues with the icemaker, address them promptly to prevent further damage.
Conclusion
A noisy icemaker can be a nuisance, but by following these steps to remove the ice stuck in the ice bucket, you can easily fix the issue. Remember to always turn off the icemaker before working on it and take caution not to damage any of the components. By keeping your icemaker clean and well-maintained, you can enjoy ice without the unwanted noise.